NetBSD Minimal Installation
Summary
These are the step by step instructions of installing a minimal NetBSD on a virtual machine. I’m using NetBSD as a mini server. So this installation has no graphical packages. I’m also using 32bit version. A bit slower but less demanding.
I’m publishing this for the future reference. Because i’m sure i’m going to forget how i’ve installed and configured this OS.
You can download NetBSD 9.2 CD image from this site:
https://www.netbsd.org/releases/formal-9/NetBSD-9.2.html
The VM has this configuration:
- 1 core cpu
- 1024mb ram
- 8gb ide hdd
- no soundcard
Instructions
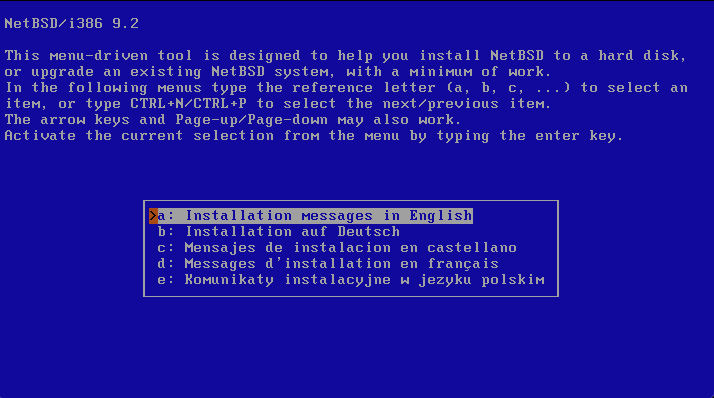
1- Boot your vm from cd image and wait until you see this screen. Press enter and continue next screen.
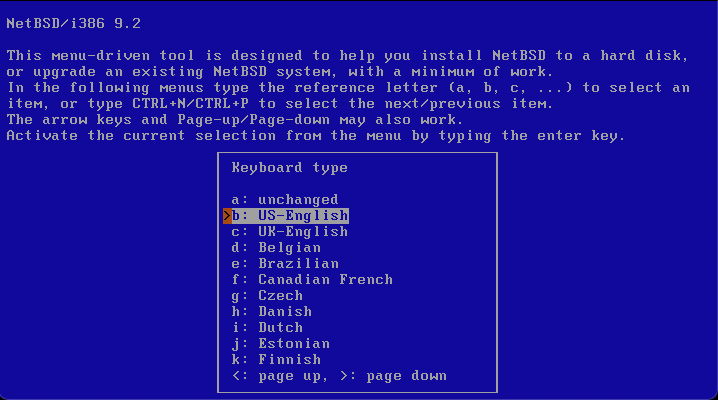
2- Select your keyboard and press enter.
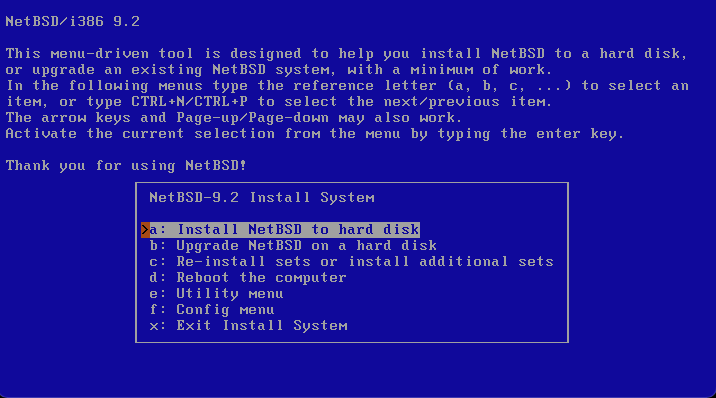
3- Select install to hard disk and continue.
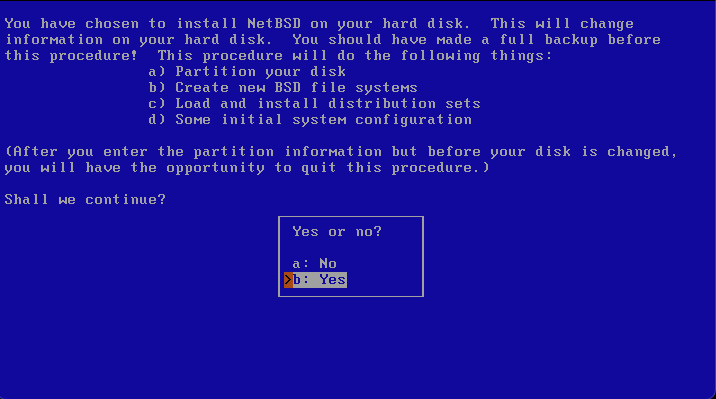
4- Select yes and continue.
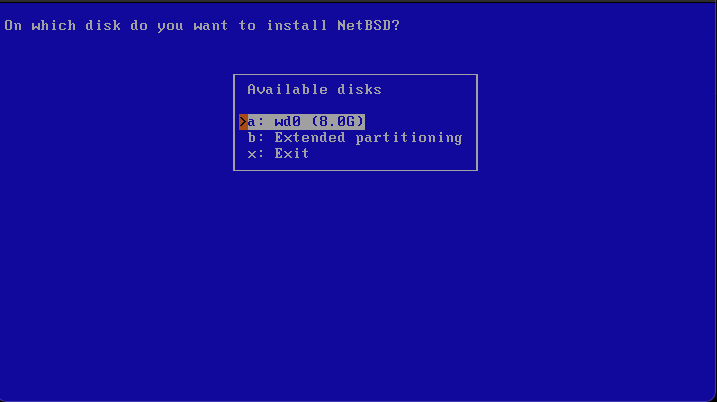
5- Select 8.0G disk.
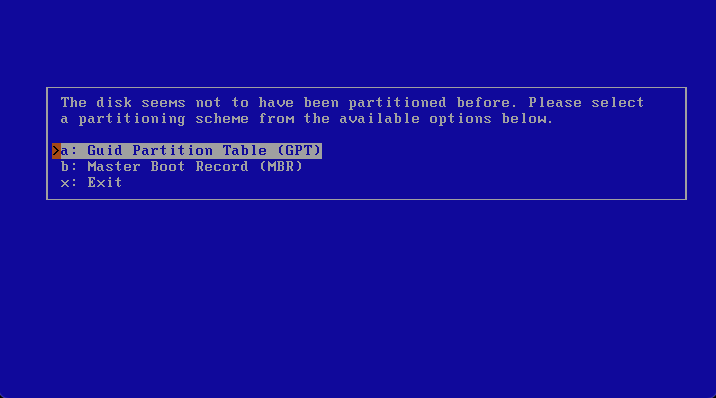
6- Select “Guid Partition Table”
7- Select correct and continue.

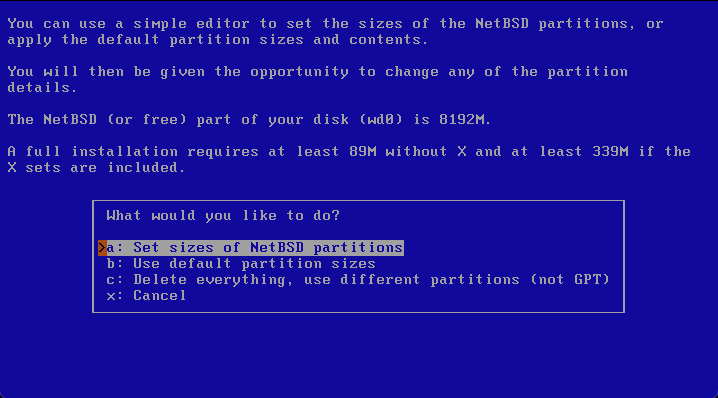
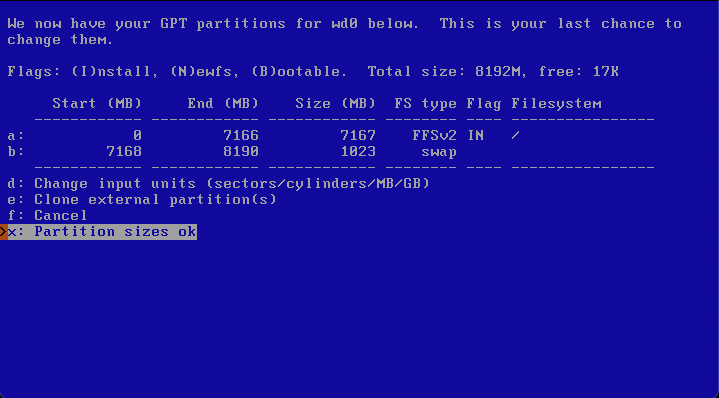
8- Select sizes of NetBSD partitions.
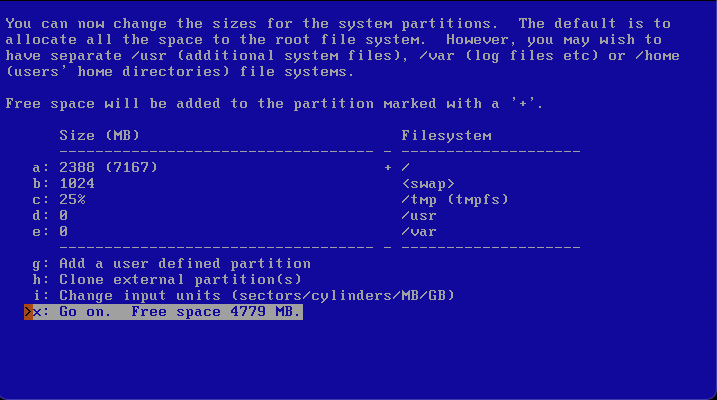
9- Press x to select go on and then press enter.
10- Press x to select go on and then press enter.
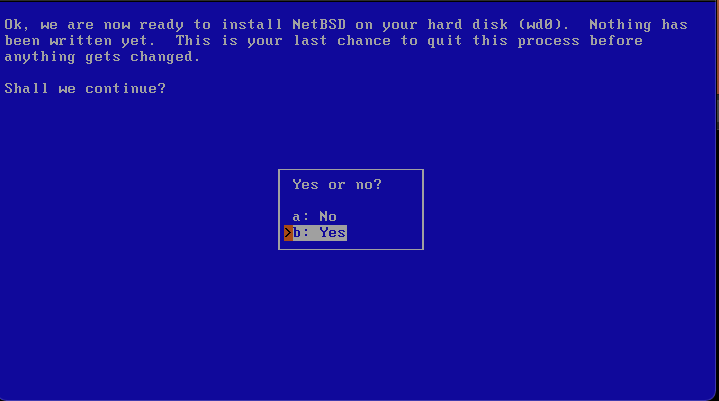
11- Select yes and continue.
12- Select BIOS console and continue.

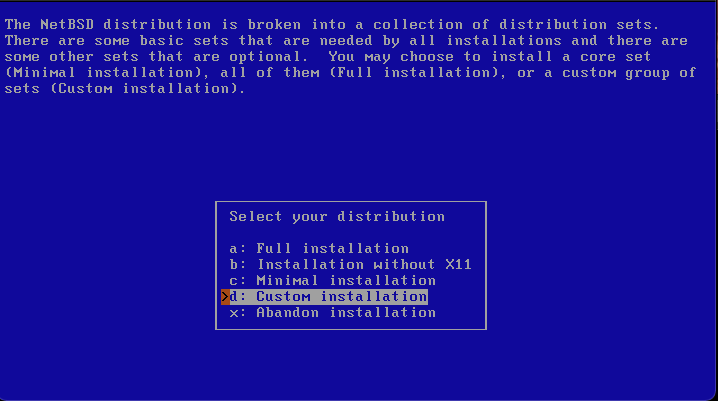
13- Select custom installation and continue.
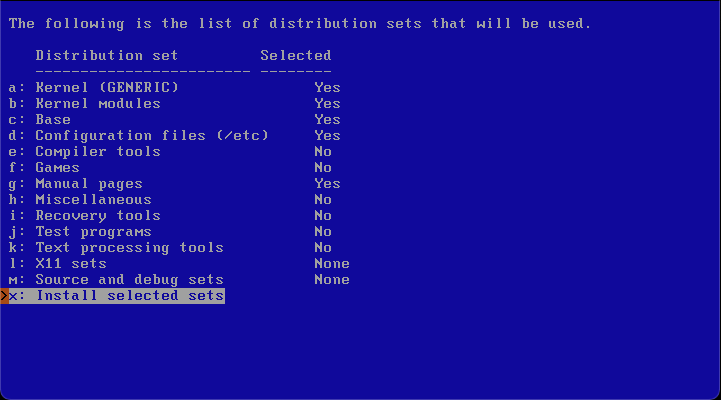
14- Set “Manual pages” to Yes. (Man pages are always better than google searches)
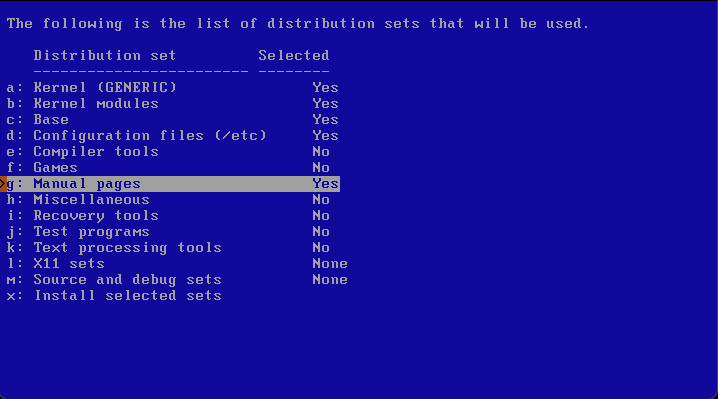
15- Select “Install selected sets” and continue.
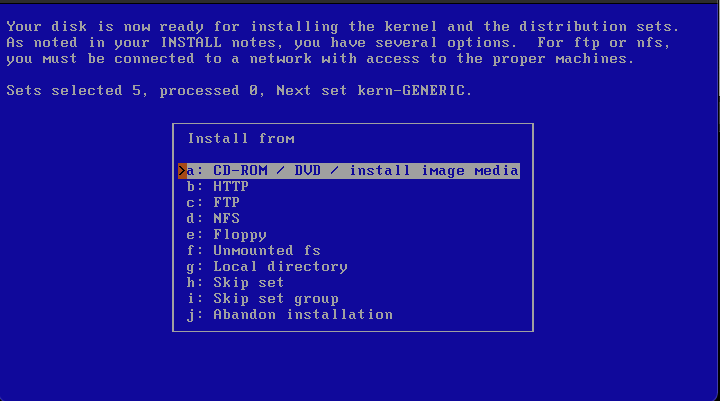
16- Select CD-ROM and continue.
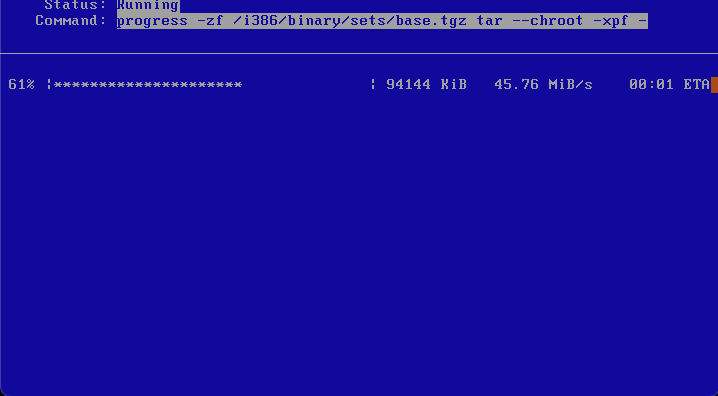
17- Wait for extraction to end.
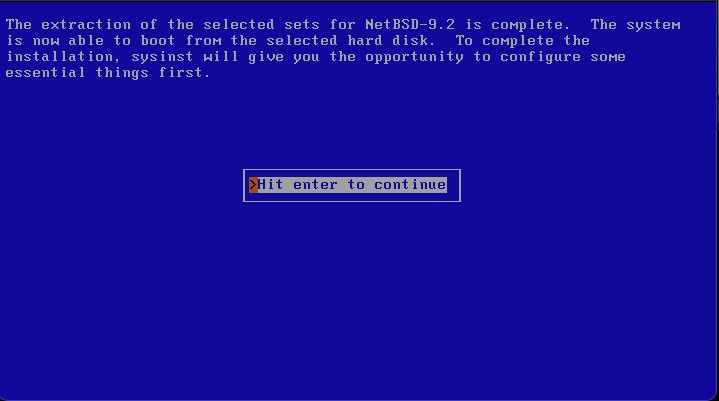
18- Press enter to start configuration.
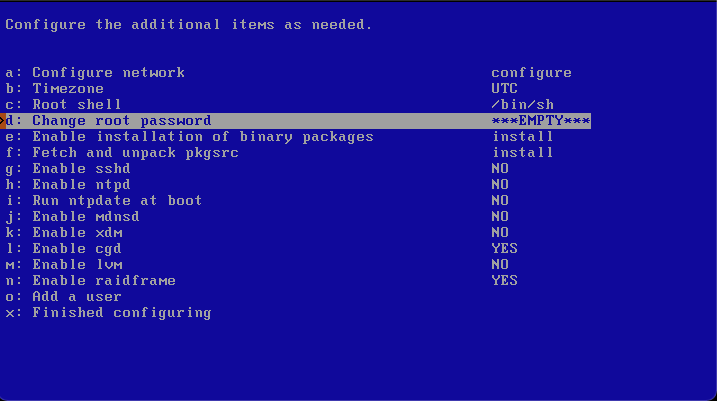
19- First thing is to set “root” user password. Select Change root password.
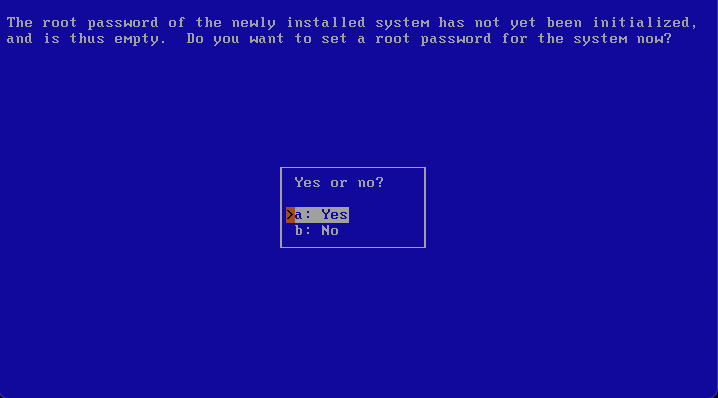
20- Select yes.
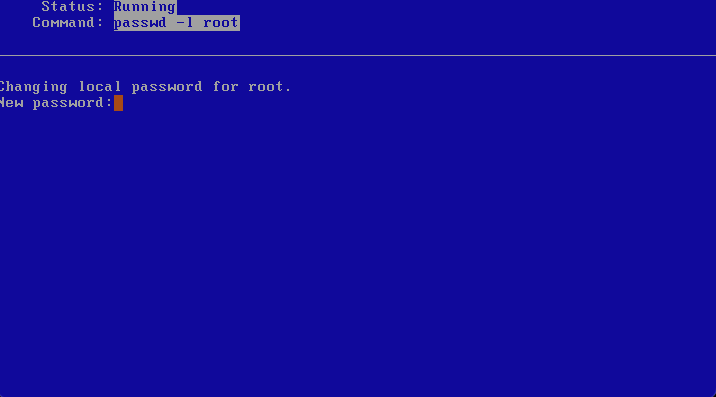
21- Enter new root password.
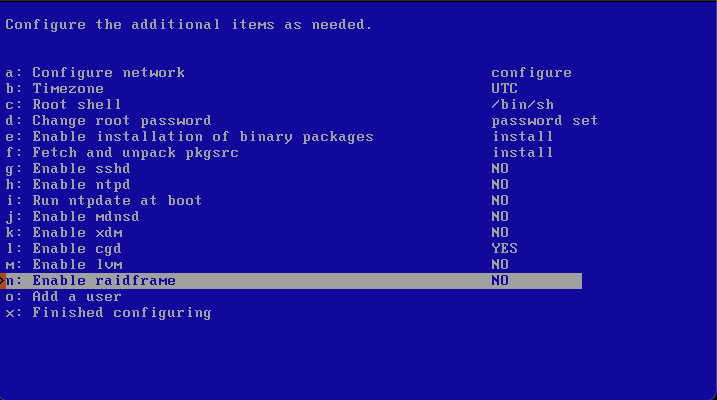
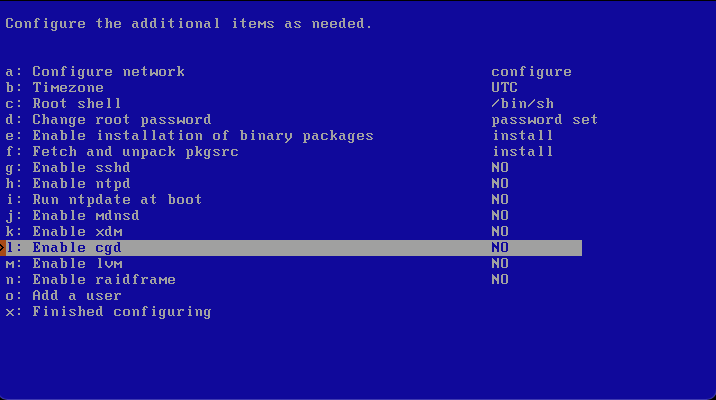
22- Set “Enable raidframe” to No. Because i’m not going to use any RAID implementations. Look here for more info: NetBSD Raidframe
23- Set “Enable cgd” to No. Because im not going to encrypt any disks. Look here for more info: NetBSD cgd
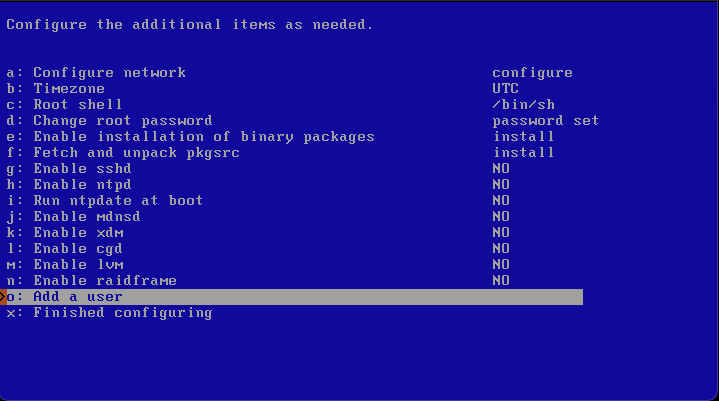
24- Select “Add a user” and press enter.
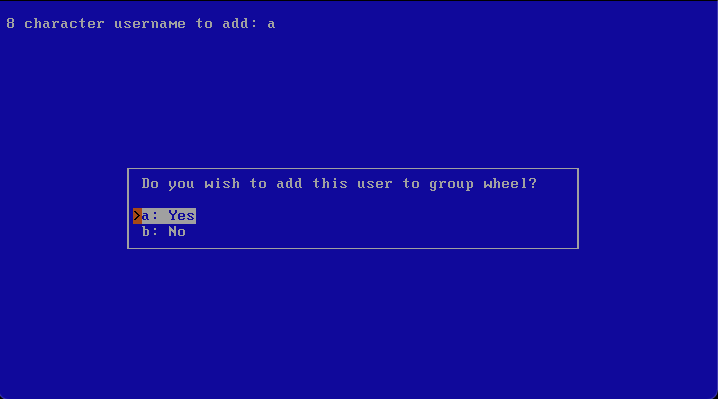
25- Enter username and add this user to wheel group. (Wheel group means privileged users)
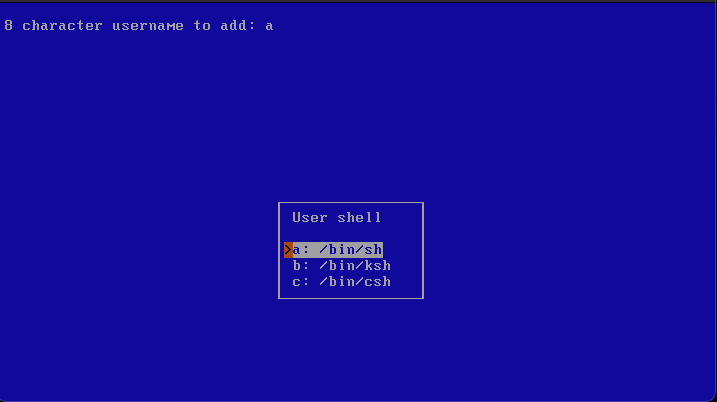
26- Select bin/sh and continue.
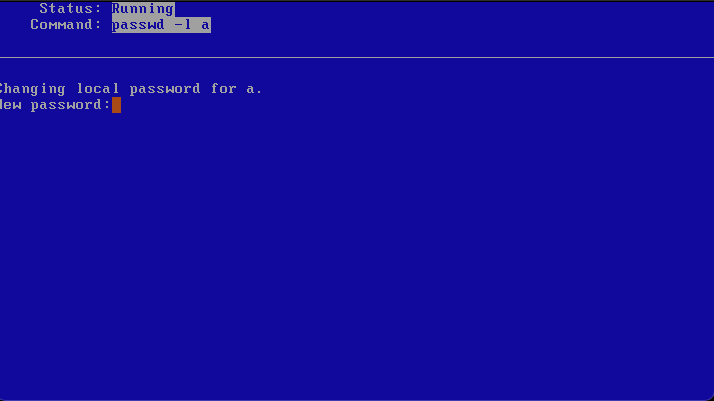
27- Set your user password.
28- Select finished configuration and hit enter.

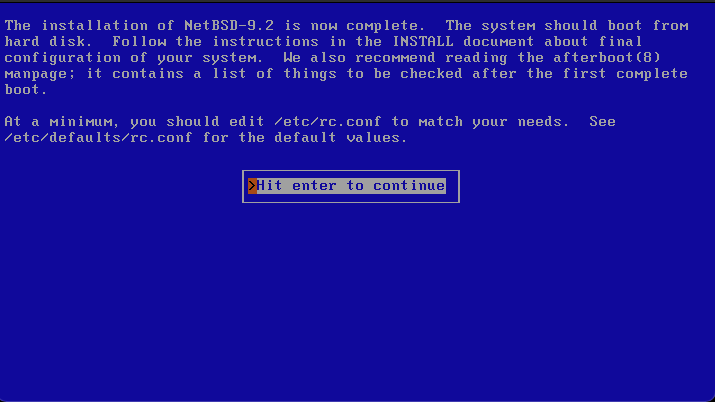
29- Installation is completed. Hit enter.
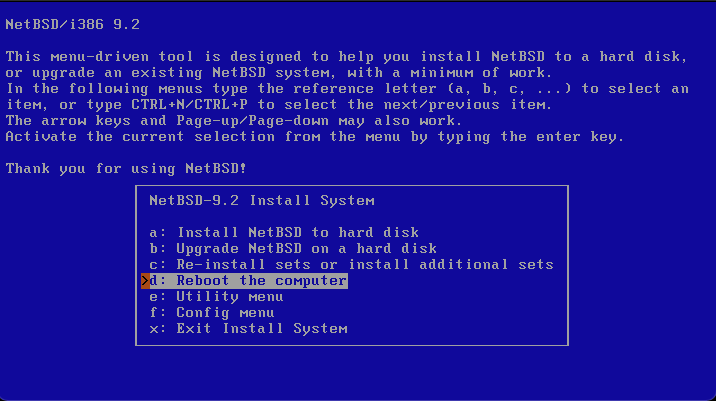
30- Select reboot the computer and hit enter.
31- After boot, you should be able to see this login screen.
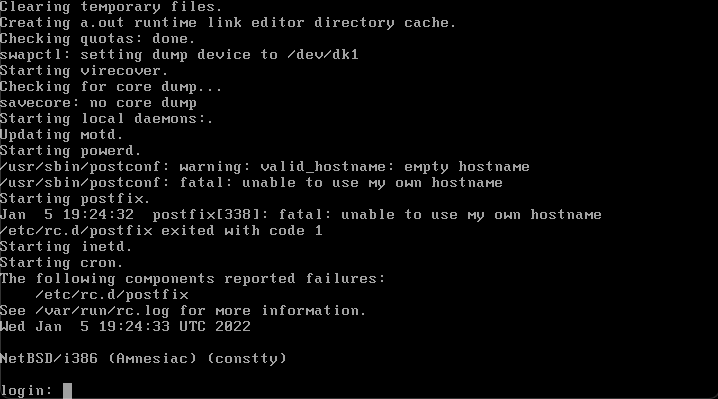
Congratulations,
You’ve successfully installed a minimal NetBSD 32bit operating system.